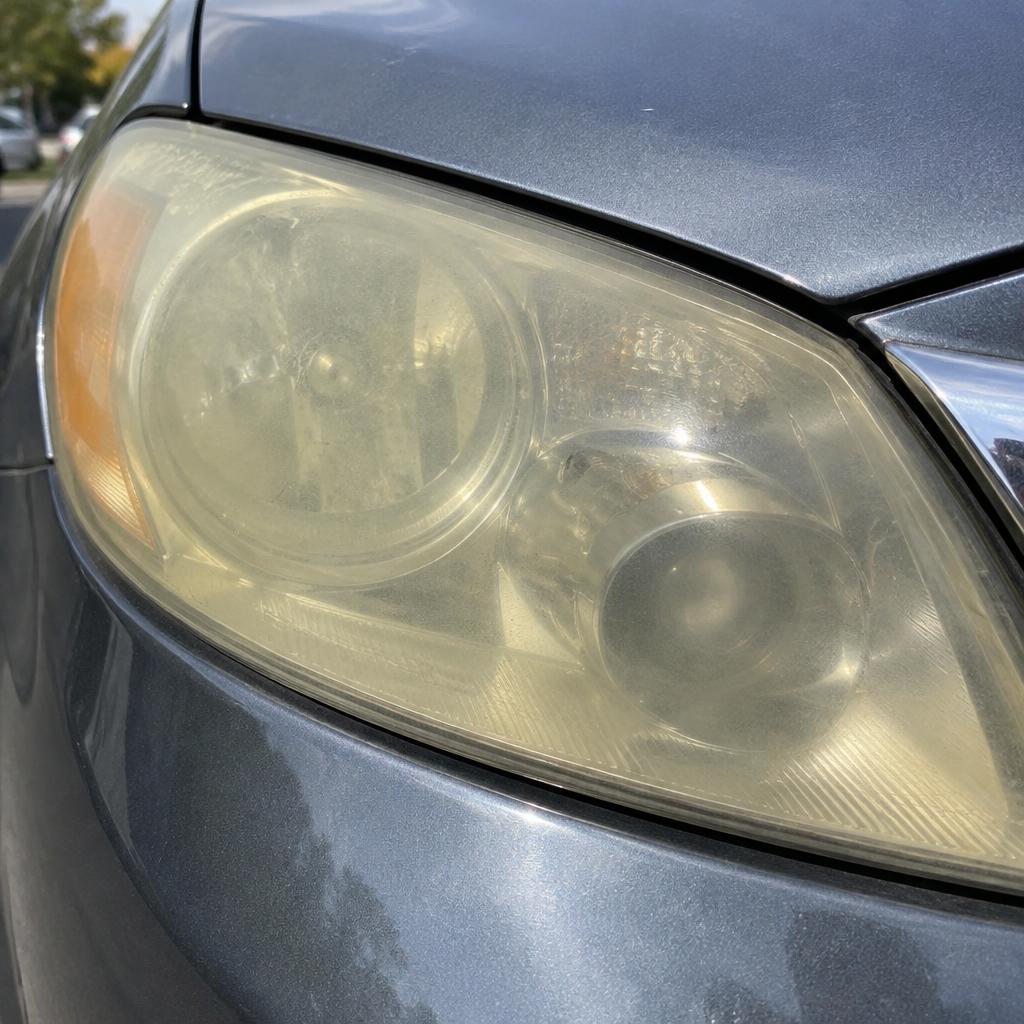
Before & after
Hazy headlights? Restore them in 30 minutes
22 September 2026 · 6 min read
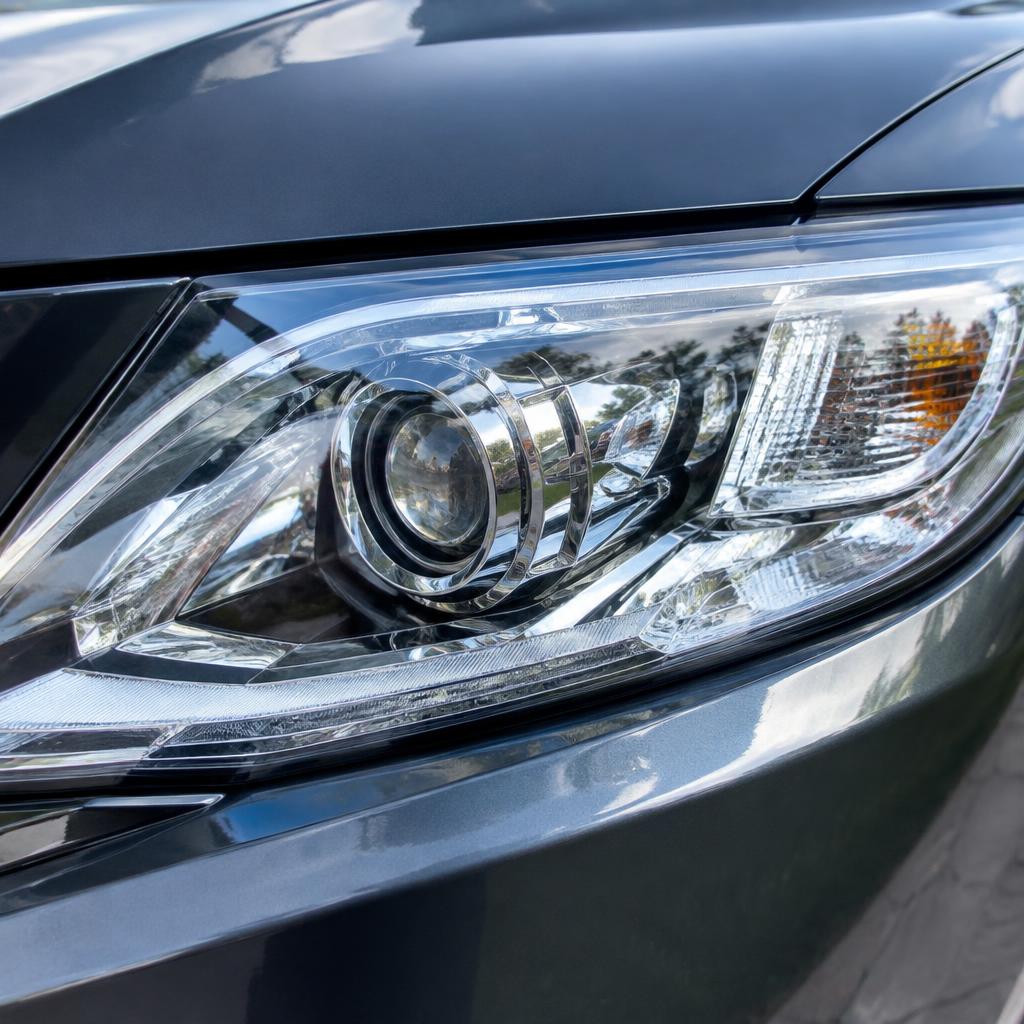
Polycarbonate headlight lenses are coated with a UV-cured clear layer from the factory. When that layer wears through, the plastic oxidises: yellowing, haze and drastically less light on the road. The good news: the damage is on the surface, and it sands off.
The process
Step by step
- ▸Mask the paint around the lens with painter's tape — you will be sanding right up to the edge.
- ▸Wet-sand the lens with 800-grit, then 1500, then 2500, keeping everything wet. Work until the surface is evenly matte.
- ▸Polish with a machine or by hand using a plastic/compound polish until the lens is clear again.
- ▸Immediately apply a UV sealant or ceramic coating for headlights. Unsealed polycarbonate re-yellows in weeks.
The sealing step is not optional. Bare sanded polycarbonate without its UV layer will haze again faster than before. A dedicated headlight sealant typically lasts 1–2 years; reapply when you notice the first faint yellowing.
What to avoid
- ▸Toothpaste 'hacks' — they polish microscopically thin and the haze returns in weeks.
- ▸Skipping grits or sanding dry — you leave deep scratches that polish cannot remove.
- ▸Leaving the lens unsealed overnight — UV and dust undo part of your work immediately.
Want the exact steps for your car?
Pick your brand, model and the surface you are cleaning — the advisor gives you the plan and the right products.