Interior
Leather seat rescue: clean, feed, protect
27 September 2026 · 6 min read
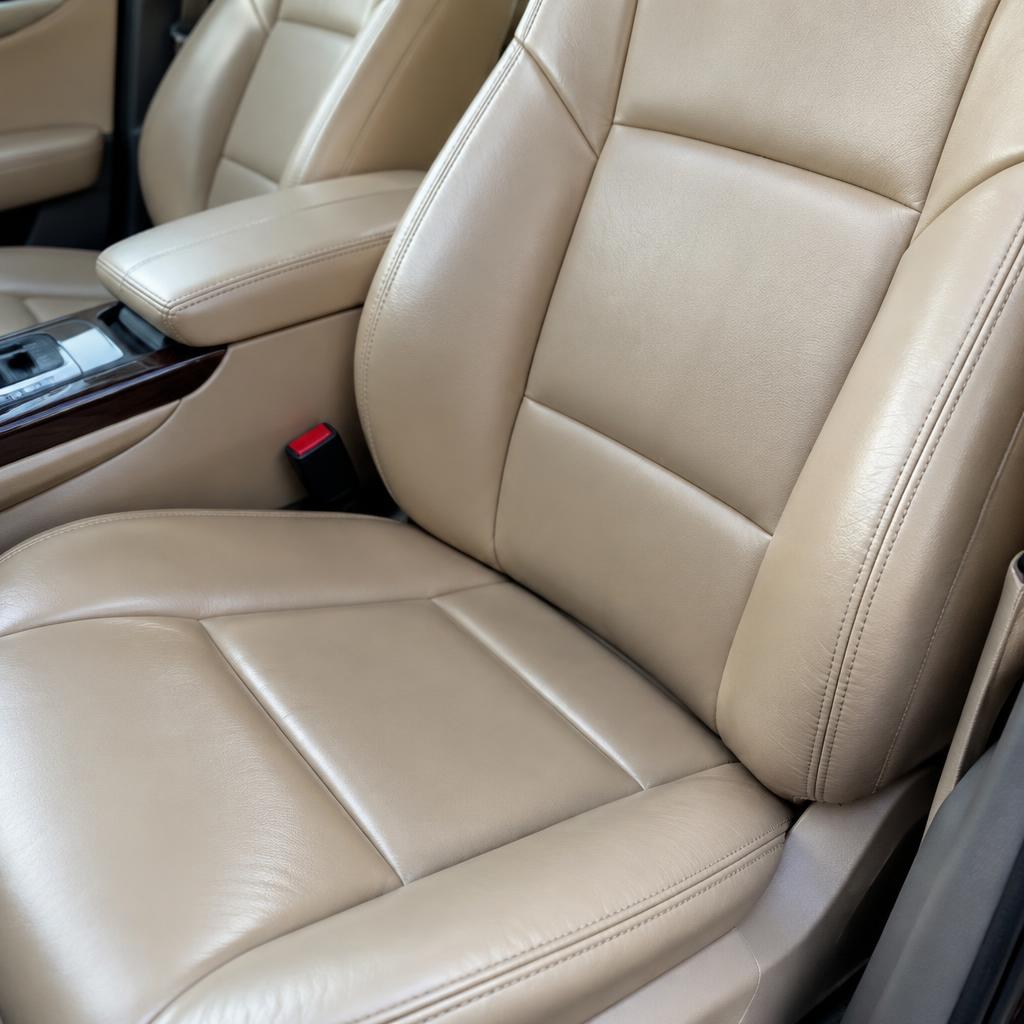
Car leather loses its oils to sunlight, body heat and jeans abrasion. Skip conditioning for a few years and the surface turns dull and stiff, cracks appear in the bolsters, and dye starts transferring. Cleaning alone will not fix it — leather needs to be fed back its moisture.
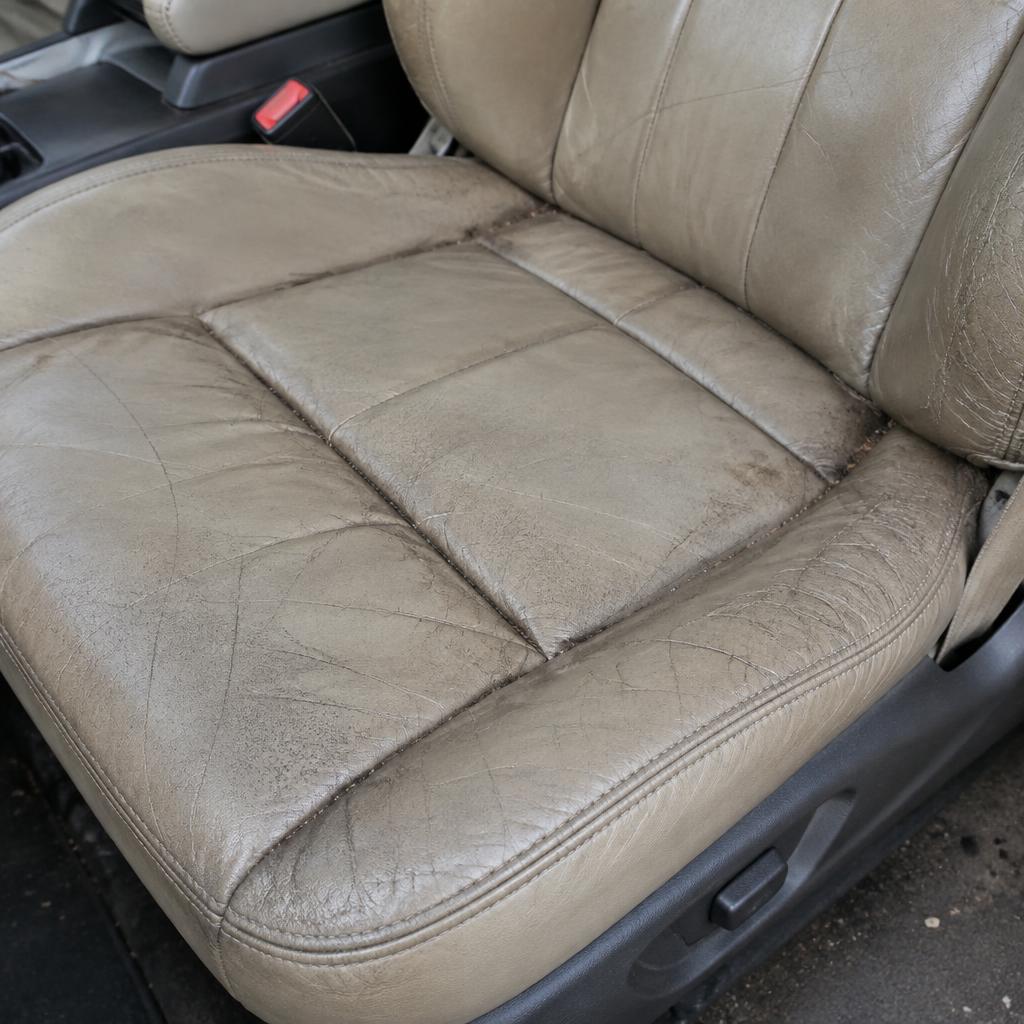
The three steps
Step by step
- ▸Vacuum the seams and pleats with a soft brush attachment first — grit under your cloth is what causes micro-scratches.
- ▸Clean with a pH-balanced leather cleaner and a soft brush, working foam into a small section at a time. Wipe residue with a damp microfiber.
- ▸Let the leather dry fully, then apply a quality leather conditioner in a thin coat with an applicator pad. Work it in, wait 15 minutes, buff off the excess.
- ▸For cracked areas, repeat a second thin conditioning coat the next day rather than flooding the leather once.
Condition every 3–4 months, or monthly for daily-driven seats in hot climates. A dedicated leather protectant with UV inhibitors adds a shield on top of the moisture.
What to avoid
- ▸Household cleaners, baby wipes and vinegar — they strip the leather's finish.
- ▸Silicone-heavy 'shine' products on seats — greasy transfer onto clothes and blocked pores.
- ▸Saturating the leather — moisture should be worked in thin layers, not soaked.
- ▸Brushing with stiff bristles — always soft brush or microfiber.
Want the exact steps for your car?
Pick your brand, model and the surface you are cleaning — the advisor gives you the plan and the right products.