Wash
The two-bucket wash: never swirl your paint again
18 September 2026 · 5 min read
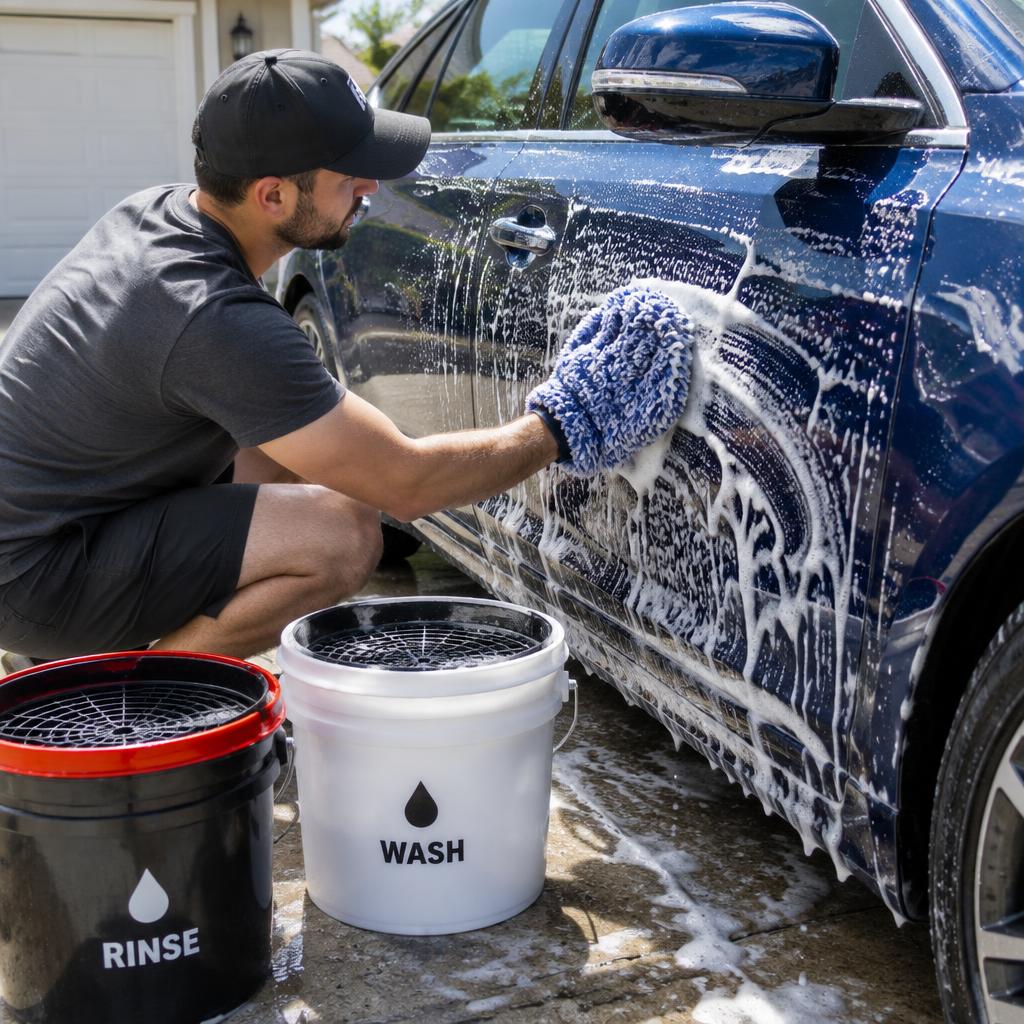
Every time a wash mitt goes back into the same bucket it was just scrubbed with, you drag the grit it collected straight back onto the paint. Over months this grinds fine scratches — swirl marks — into the clear coat, and they are most visible in direct sunlight. The fix costs one extra bucket and takes zero extra skill.
The setup
Fill one bucket with your shampoo solution and a second with plain rinse water. Put a grit guard at the bottom of each — the plastic grid lets dirt settle under it instead of floating back onto your mitt. Use a plush microfiber wash mitt, not a sponge: sponges trap grit on their flat surface, where it acts like sandpaper.
The method
Step by step
- ▸Rinse the car top to bottom with a pressure washer or strong hose jet first — remove as much loose dirt as possible before anything touches the paint.
- ▸Wash from the roof down in straight lines, never circular scrubbing. One panel per mitt-load.
- ▸After each panel: dunk the mitt in the rinse bucket, rub it against the grit guard, then wring it out on the ground — not in either bucket.
- ▸Reload with fresh shampoo from the wash bucket and continue.
- ▸Rinse top to bottom, then dry immediately with a large microfiber drying towel or a blower.
A pH-neutral shampoo keeps existing wax or sealant alive longer. If your car is heavily soiled, add a snow-foam pre-wash: it clings and loosens dirt so the contact wash does less work.
What to avoid
- ▸Automatic brush washes — the brushes are the single biggest source of swirl marks.
- ▸Washing in direct sunlight or on hot panels — shampoo dries and leaves spots.
- ▸One-bucket dunking — this is the habit that started the problem.
- ▸Old, hard or gritty wash mitts — inspect and replace them regularly.
Want the exact steps for your car?
Pick your brand, model and the surface you are cleaning — the advisor gives you the plan and the right products.